

Animating Still Images
- milesstewart
- Jan 15, 2021
- 3 min read
Today we learned a nifty technique that you can use to bring 2D photography to life, and give it a 3D feel to it. With this technique, you can also animate elements of the picture.
This technique involves using both Photoshop and After Effects. The first step is to load up Photoshop and select the image you would like to make 3D or animate. The best images to choose are images with multiple elements, such as a main focus, and other objects or subjects that can be cut out and animated. It also helps if the background isn't too complicated, as you have to remove parts of the background at one of the stages of this effect, either using the content aware fill tool or the clone stamp.
1.) Load up your desired image into Photoshop, we are doing this step in Photoshop as the tools in Photoshop make it easier to achieve the following effects.

2.) Choose which elements of the picture you want to animate, or give a 3D effect to. I would suggest the main focus of the picture, such as a person or object, as well as a few surrounding objects, people or parts of a landscape. Use your preferred cutting out methods. My preferred method is magnetic lasso followed up by manual adjustments. Make new layers of these cut outs.

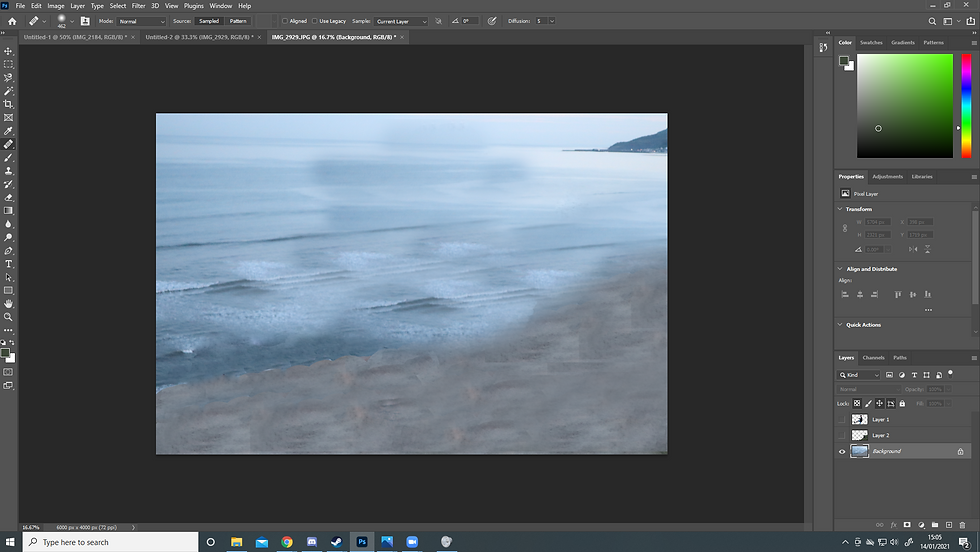
3.) The next step is to remove the objects/ focuses of the cut outs you have just made, from the background of the image. This can be quite tricky depending on how complex the background is. You can either use the content aware fill tool, or the clone stamp. In the case, I used the clone stamp, but perhaps the content aware fill would have worked better.

4.) I decided to also cut out the cliff edge, to give my animated photo more of a 3D feel.

5.) I then had to change the background again. You need to remove the cut outs from the background, because when you apply a camera, of which is a further step, and you move the camera around to apply the 3D effect, you look behind the cut outs, and if there is the same image behind the cut out, it looks very amateur.
6.) The next stage is to open up after effects, and import the Photoshop file into after effects, making sure to import it with the separate layers staying in tact, so you can still edit the separate layers in After Effects.

7.) The next step is to apply 3D layers on your composition, and then turn on 3D on all of the layers. After this, create a new camera layer in the composition, to access and edit how you view the 3D layers. Alter the X,Y and Z values of the different cut outs and background of the image, and play around with a camera angle and transition that suits the photo the best.
8.) You can also pre-comp some of the different elements of the picture, such as the cut outs, and give them small animations as well, using the puppet tool, and slightly move around parts of the image over a small time frame. When using the puppet tool in this effect, remember to do small movements over a long period of time, and it will give it a 3D effect. The puppet tool works best using small movements,
Here is my finished piece. Overall a very cool effect, one that I will definitely be using a lot more in the future, as it looks very professional, and really brings photos to life.


Comments